Bookmatched Monkeypod Dining Table
Well, I haven’t written a blog post in FOREVER. 2/25 was the last one, and that was literally forever ago. I know its forever because Townes, Rust & Root’s official mascot, wasn’t even born yet. So, that time can’t have possibly existed. But yet, the furniture and the blog post were there. That’s something that quantum physicists are still trying to figure out, and I don’t have much hope for them. Time is relative, and our existence might be a simulation, and resistance is definitely futile. So what do we do? We come back, and write another blog post. And here it is.
This post is going to detail the making of a bookmatched monkeypod dining table. I’m not editing any of the text, because I don’t have time. You want me to make sexy furniture, delivered by the time it was promised? Well then I don’t have time to be editing a blog. So, here ya go.
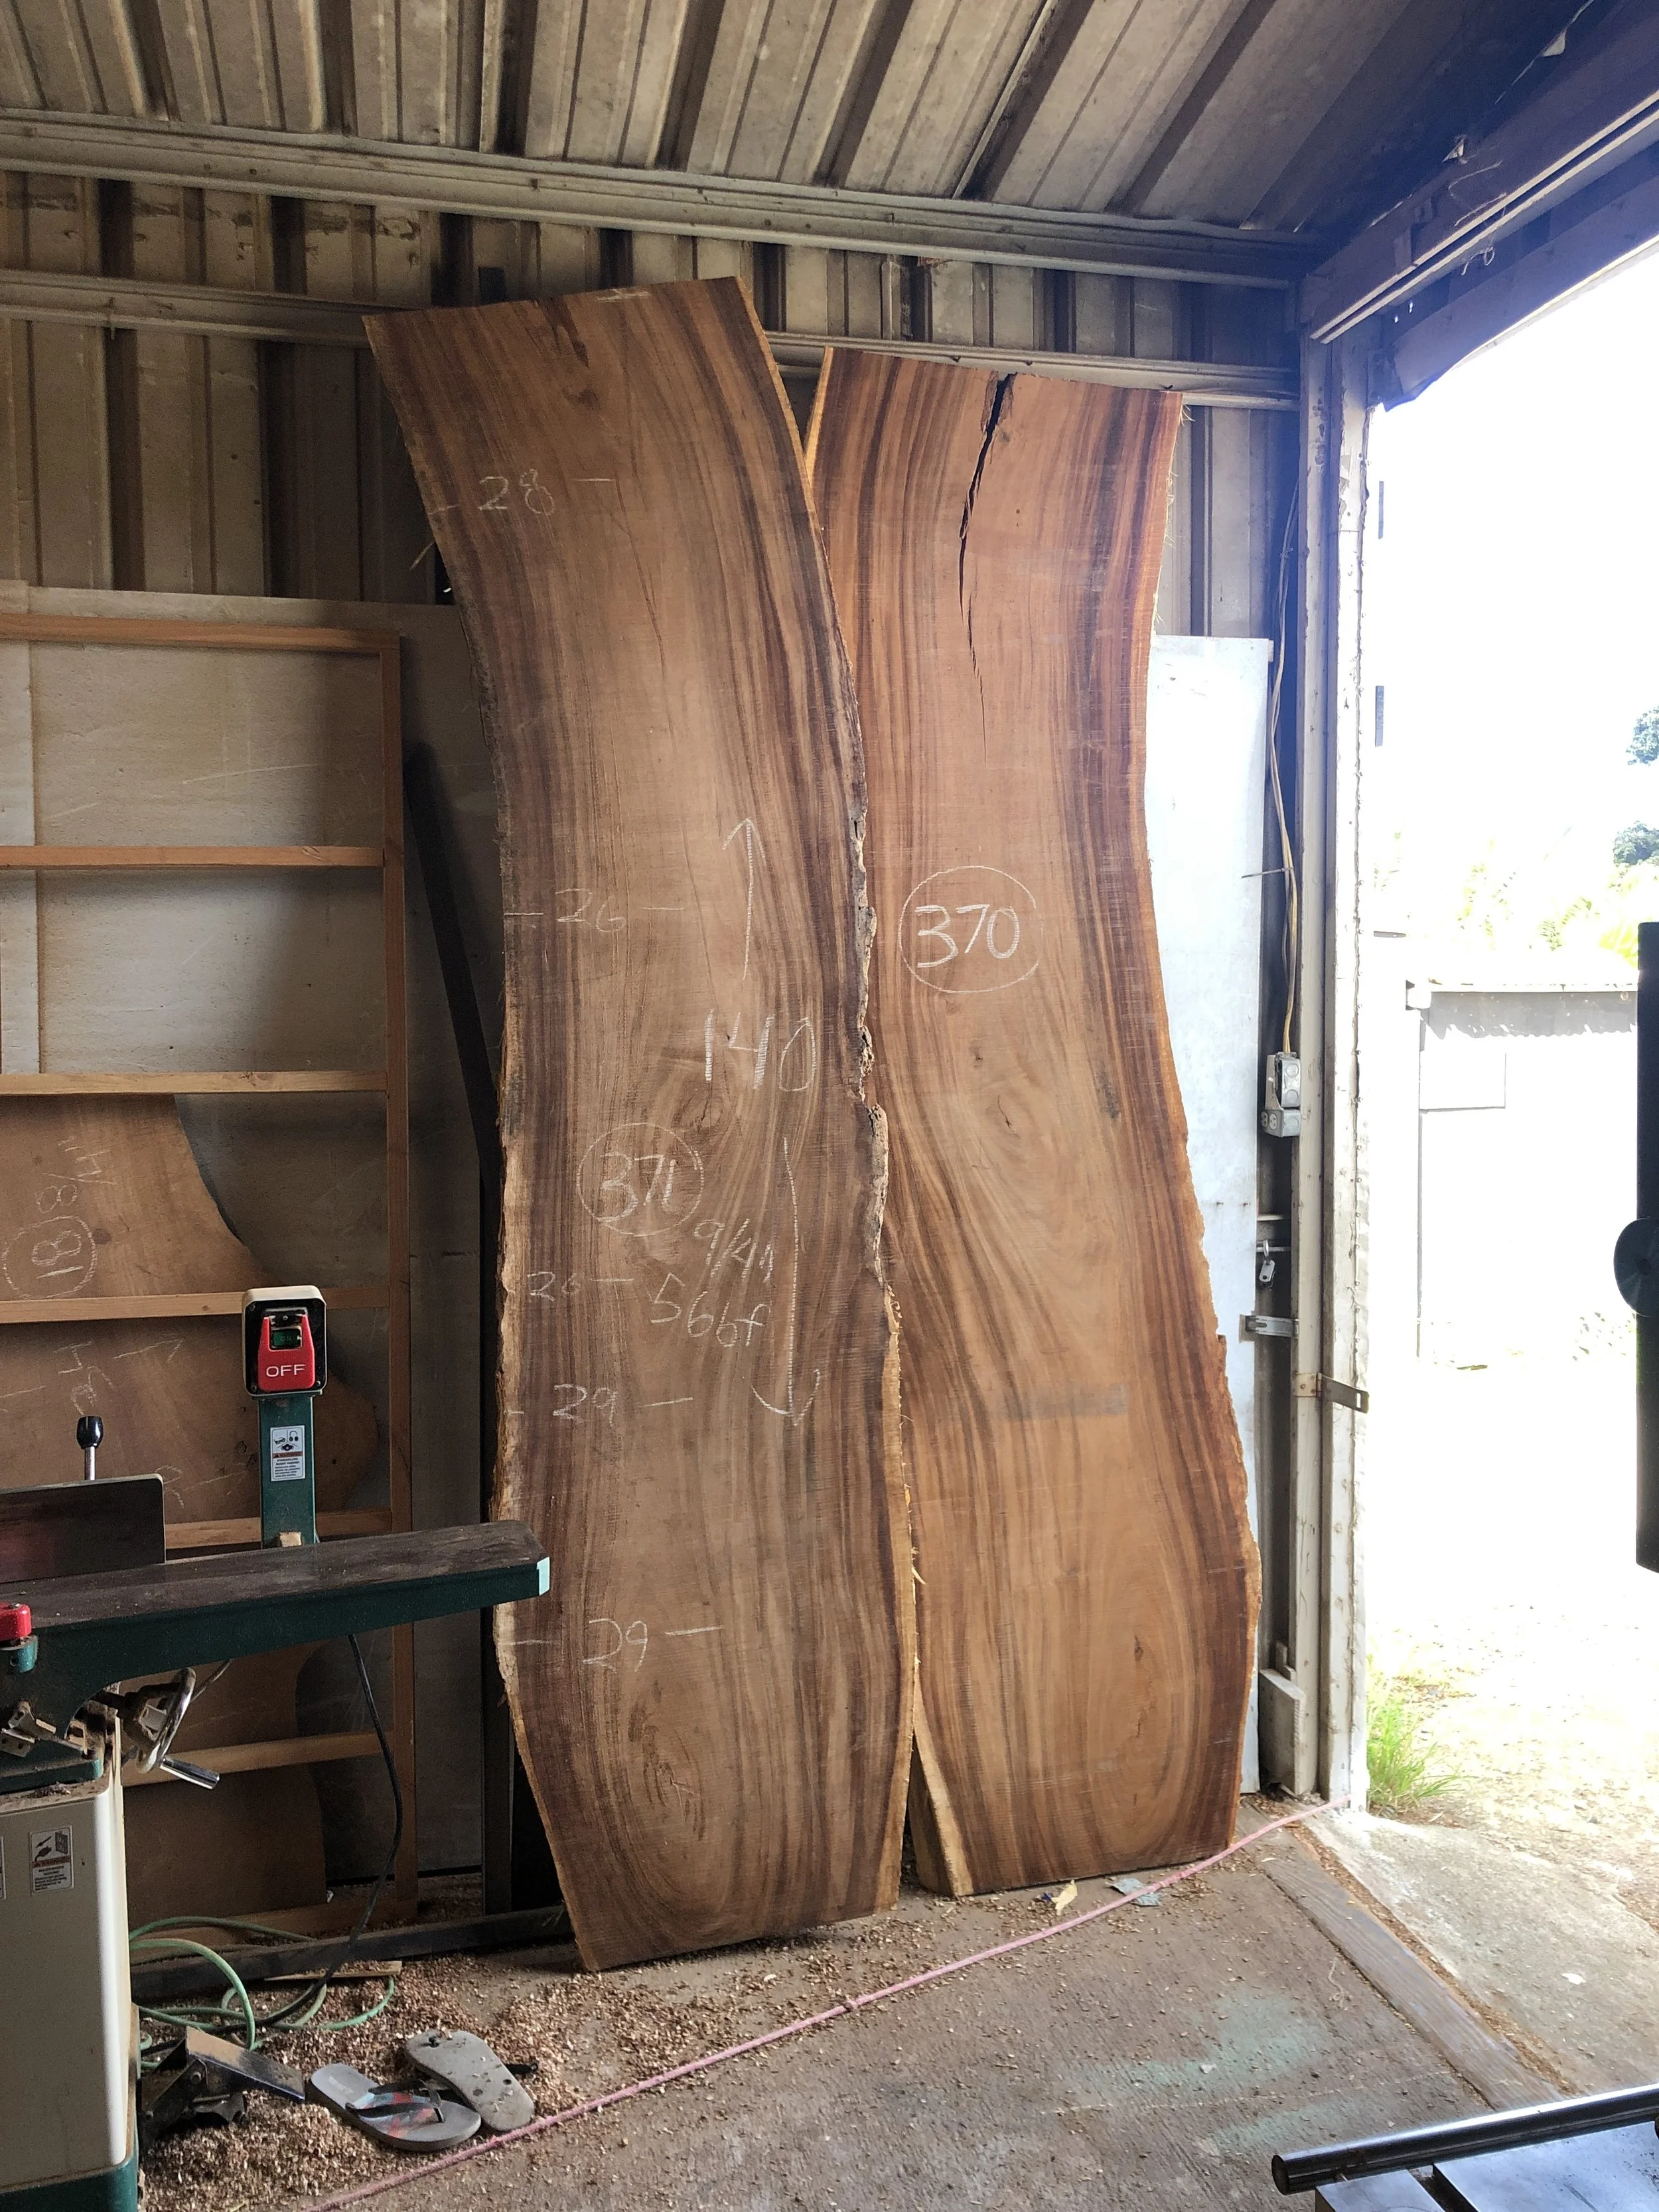
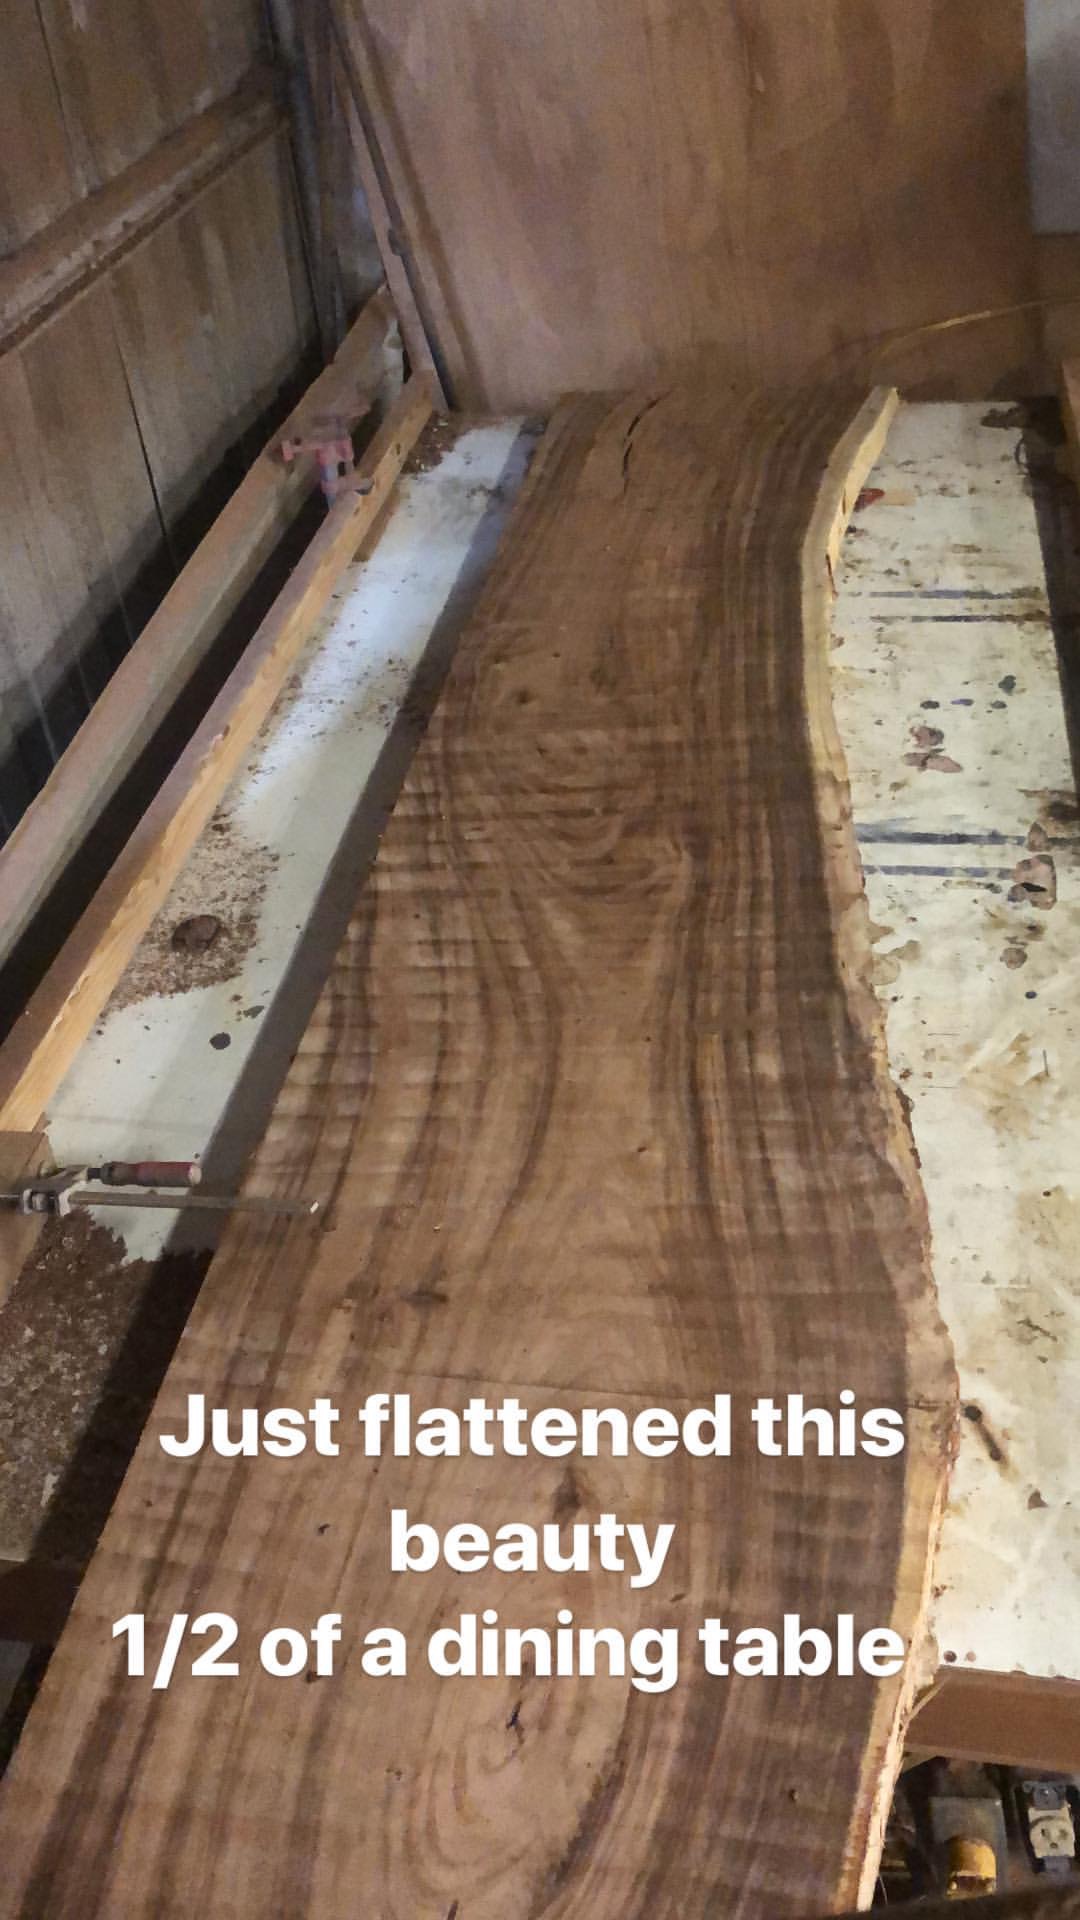
These monkeypod slabs are from Oahu’s Manoa Valley, and they were cut by Ruff Cut Hawaii. Erik at Ruff Cut is an incredibly talented sawyer, and he takes great care of the slabs from the milling stage all the way through until they are fully kiln dried and ready for use. These slabs are also cut at about 2.5” thick, which gives them plenty of thickness to be removed when flattening. Next, we’re going to look at a quick gallery taking the slabs from raw off the mill to flattened.

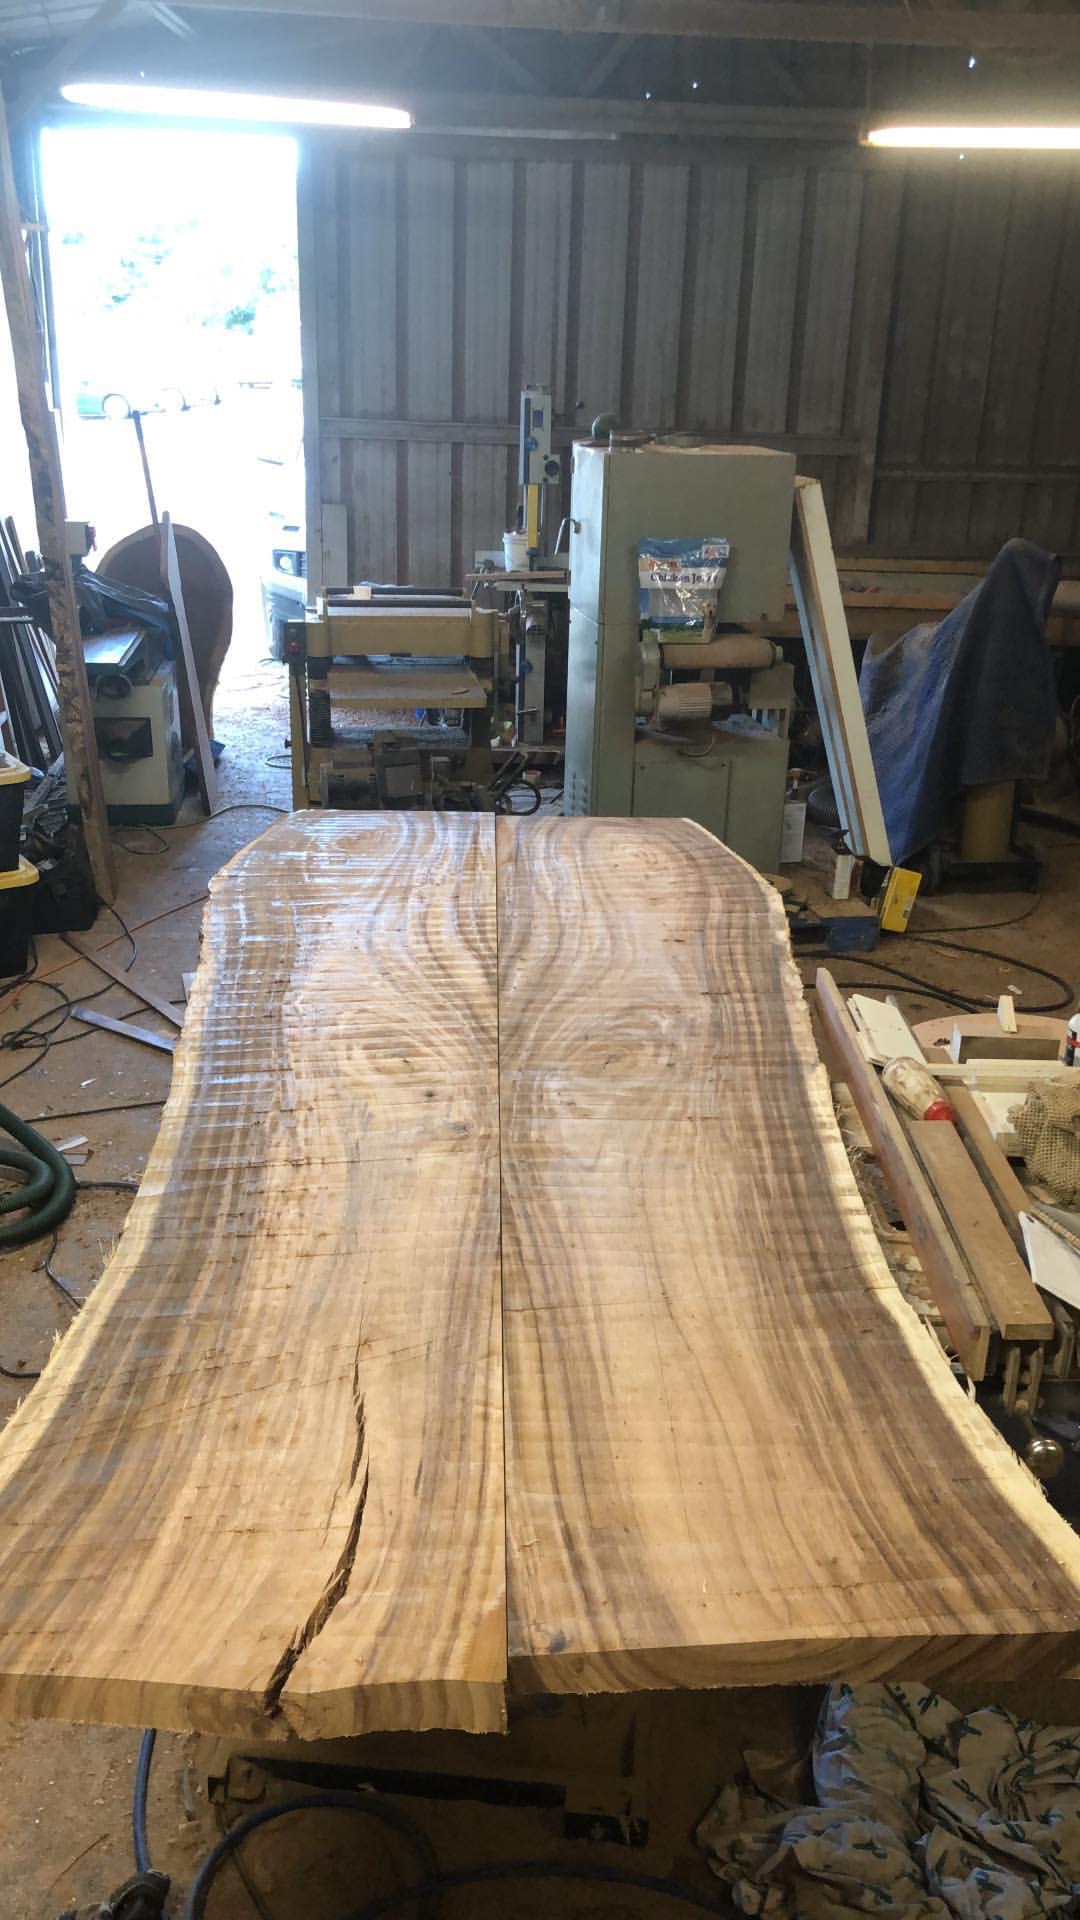
Cutting the edge of the slabs that is going to be glued together is a crucial part of the process. For one, I need to cut each slab so that the grain lines up perfectly in the seam to create that mirror image that we’re going for. Secondly, the cut has to be perfectly straight and true to give us a clean seam for a tight glueup. In the finished table top, we don’t want to see the glue line in between the two slabs.

Clamping is another tricky part. We have about fifteen minutes to get the slabs together before the glue starts curing. It is important that the tension on the top clamps is roughly equal to the tension on the bottom clamps, and that the slab is gluing up flat. The level on top of the slab acts as a straight edge to check the slab all the way up and down its length. This glueup went pretty well!
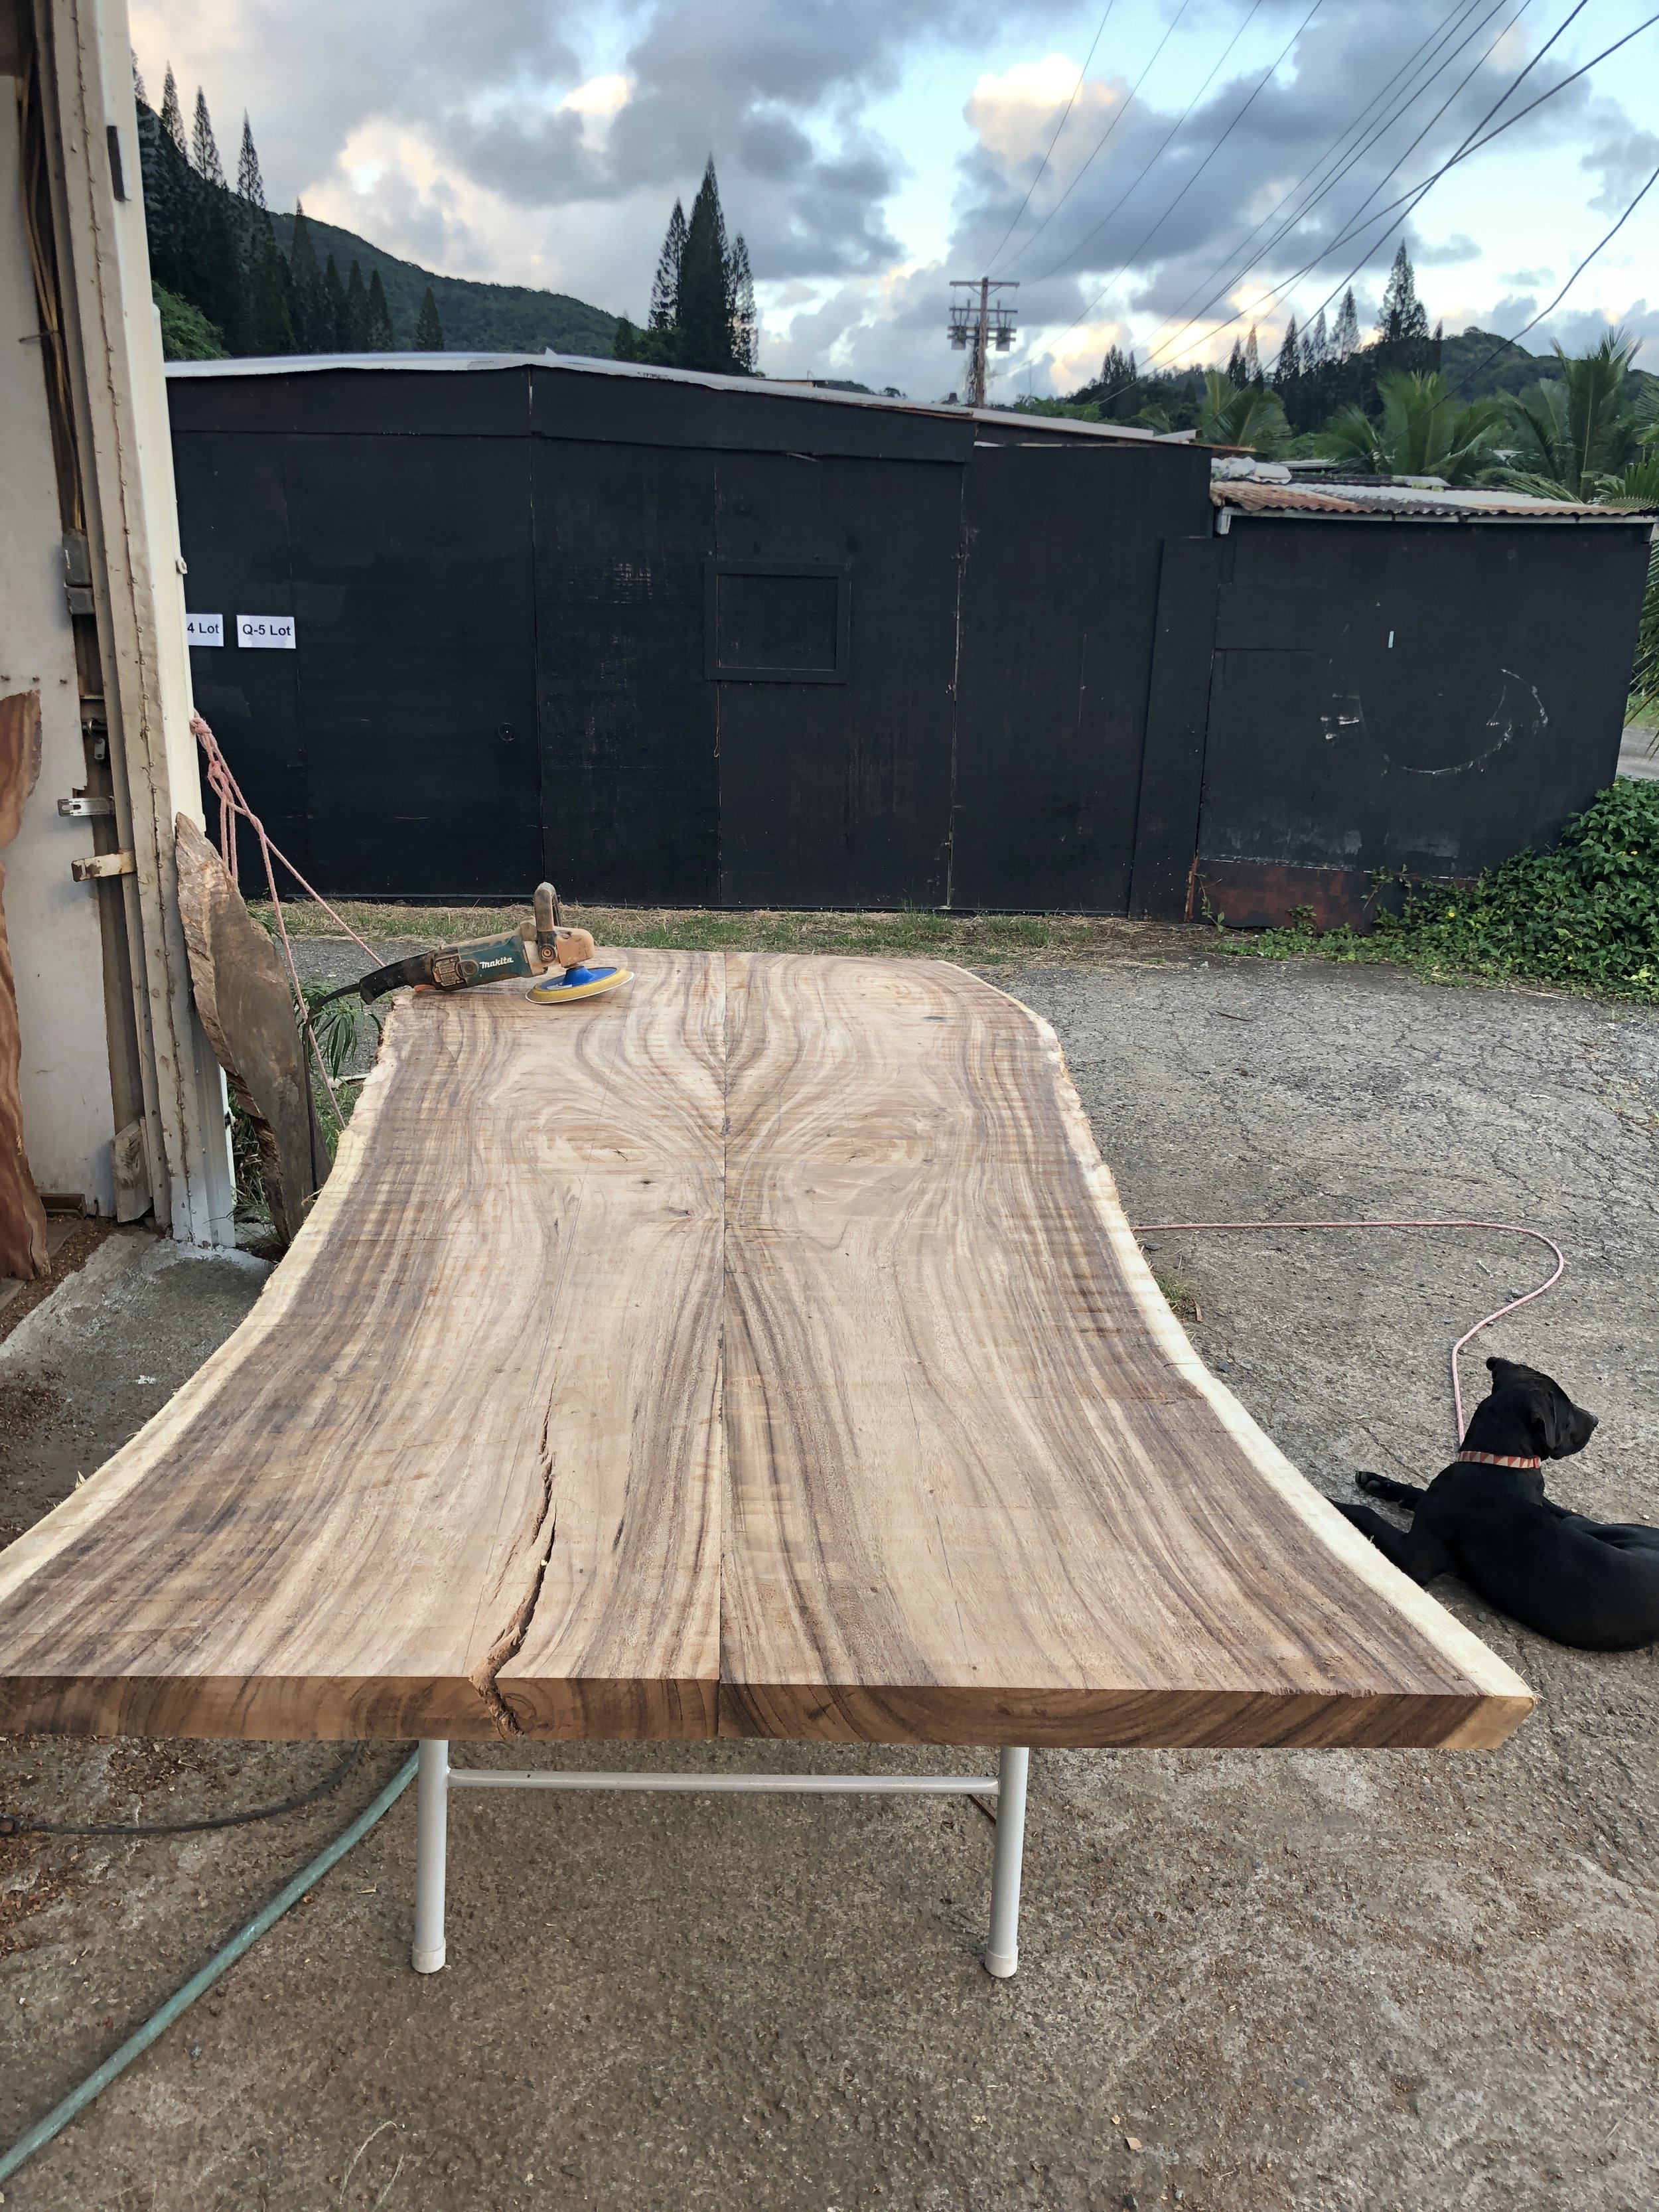

The glued up slab is officially too heavy and awkward for me to move by my self. It probably weighs hmm…. 250-300lbs. Not sure. But its heavy. The dimensions at this point are about 48” at the widest, and 104” in length. So, we brought it outside of the shop for the sanding operation. On the far end of the slab, you can see the sander that I use. It’s a Makita machine that I believe is marketed as a polisher, but its basically just a variable speed angle grinder. With 60 and 80 grit 8” sanding pads, it makes quick work of sanding out the tearout and machining marks from the flattening stage.

Now that the slab is sanded, about half of the work is done. Up until now, the work has been rough and noisy, removing lots of material and making a mess. After the rough sanding, we have to do all of the fine detail work. This includes fine sanding and probably most time consuming… epoxying all imperfections in the top and bottom of the table. You can see a big crack on the far right end of the slab. This needs to be filled.
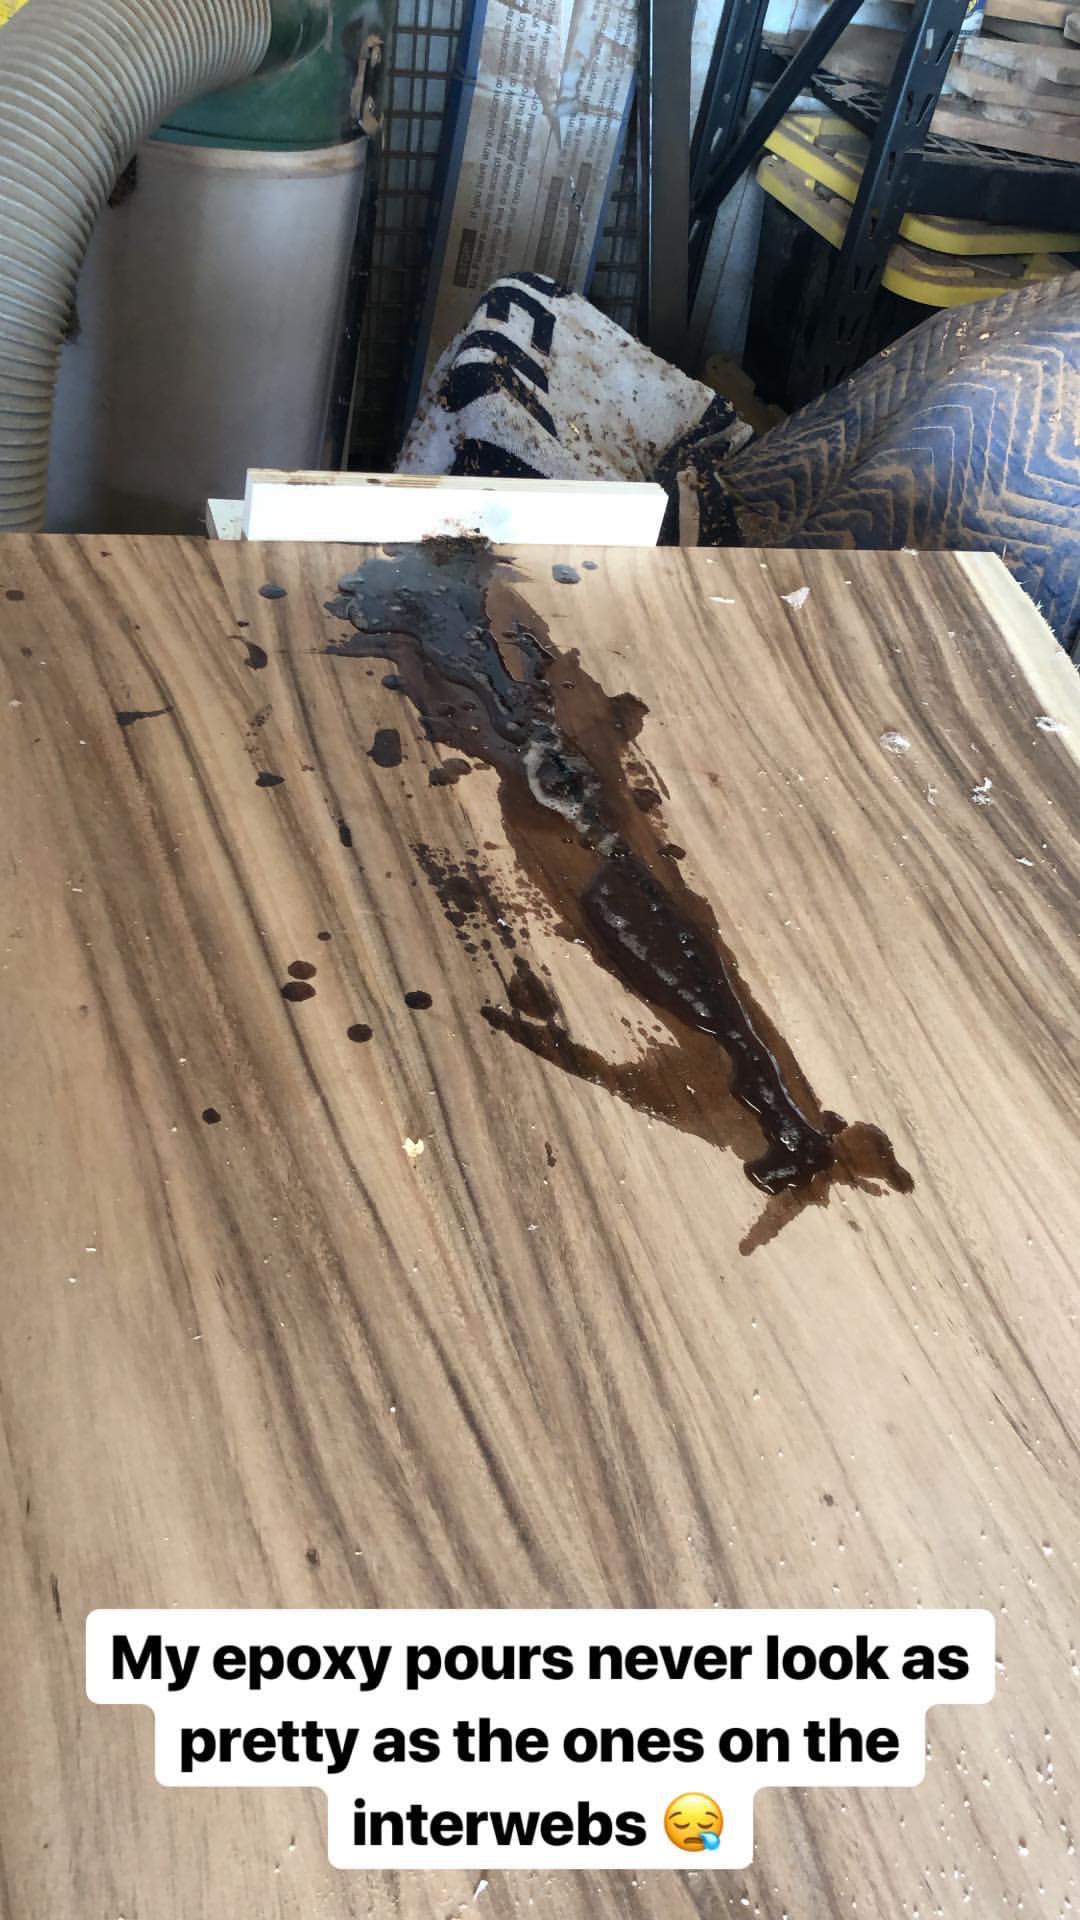

I start out by caulking a piece of plywood under the table and on the end grain, which basically creates a dam preventing the epoxy from leaking out. This crack runs all of the way through the slab, so it took four levels of epoxy pour to fill. With the epoxy that I use, I can only pour about a half inch thickness at a time, or else it doesn’t cure properly. So this process takes some time… then I sand the epoxy off. The epoxy never quite cures cleanly, and little air bubbles will form in the cured epoxy. These air bubbles each have to be filled, with more epoxy. It’s a long process. Although I don’t have photos, I was also filling little cracks and knots all through the top and bottom of the slab. After every crack and hole is epoxied, I sand up to 220 grit with a Festool random orbital sander. One amazing this about this machine is that it connects to a vacuum that catches all of the sanding dust. I love not having to wear a mask while sanding.
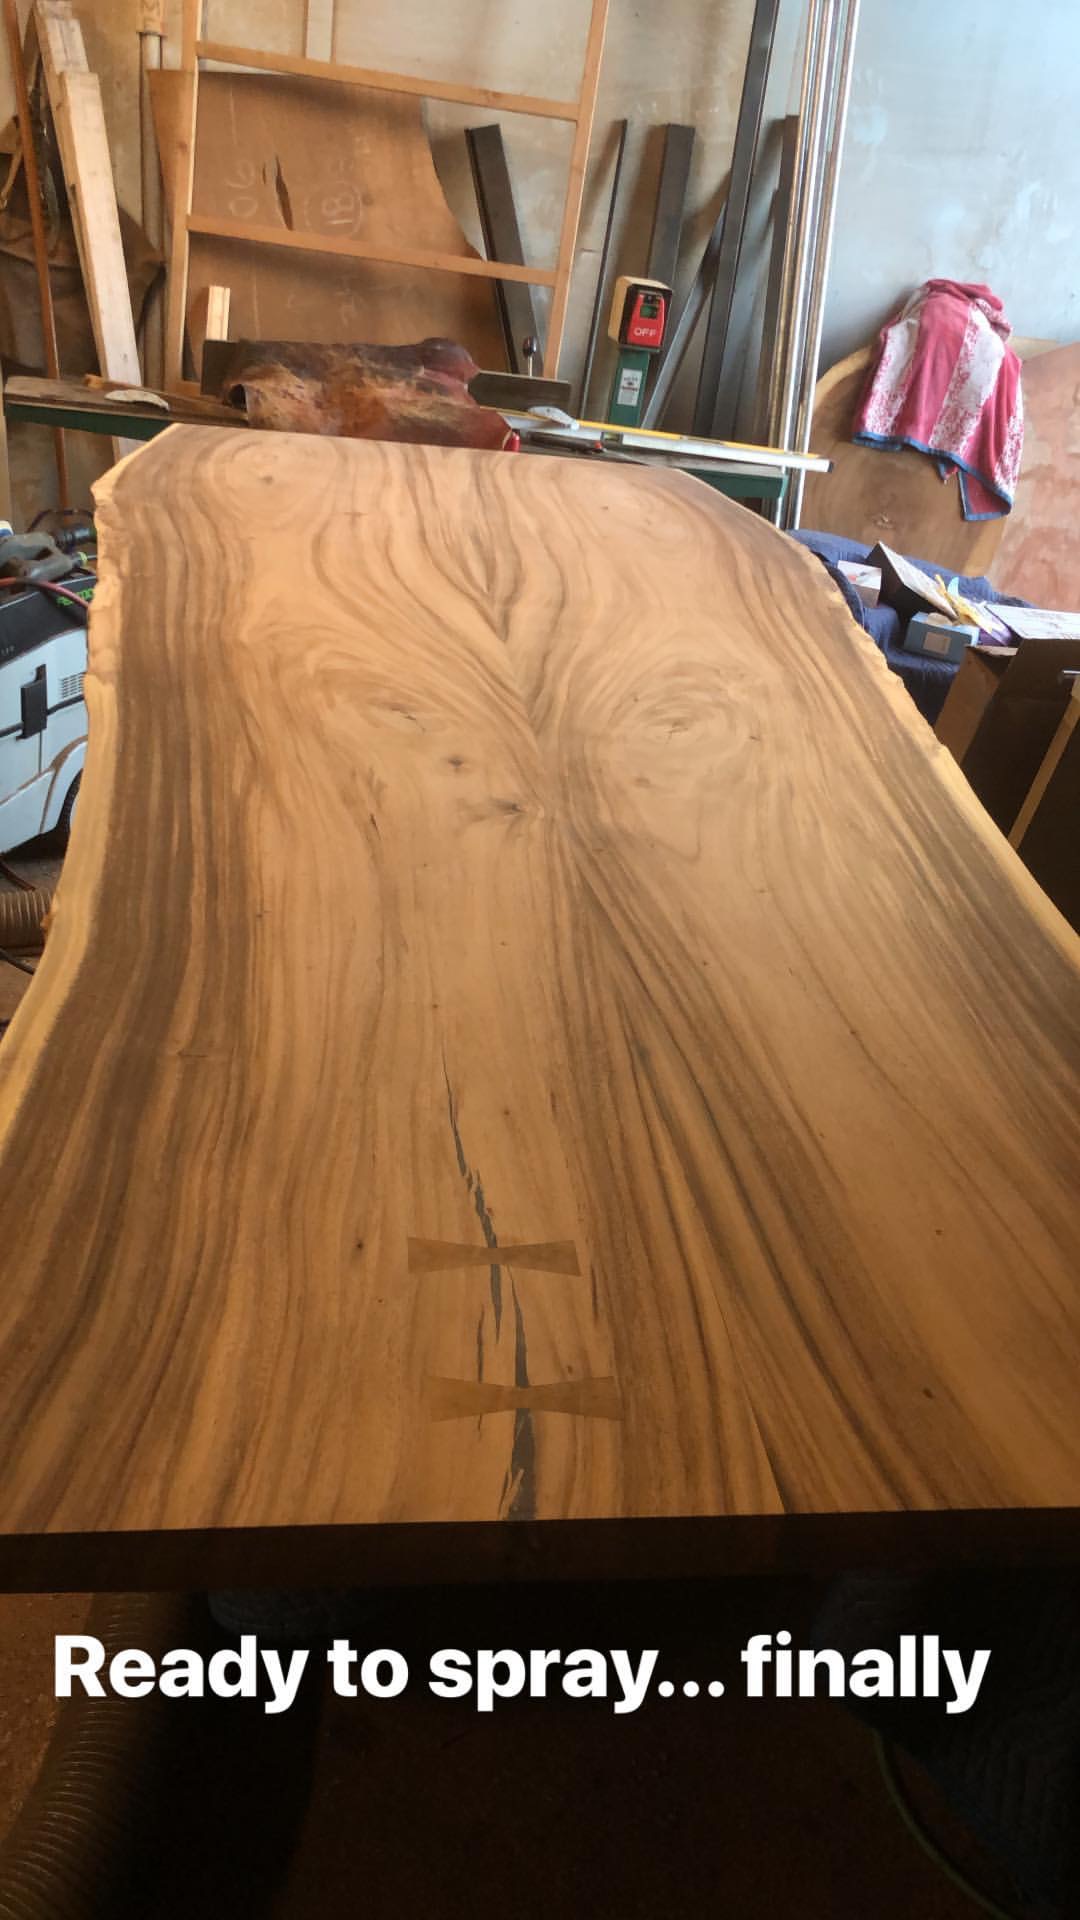
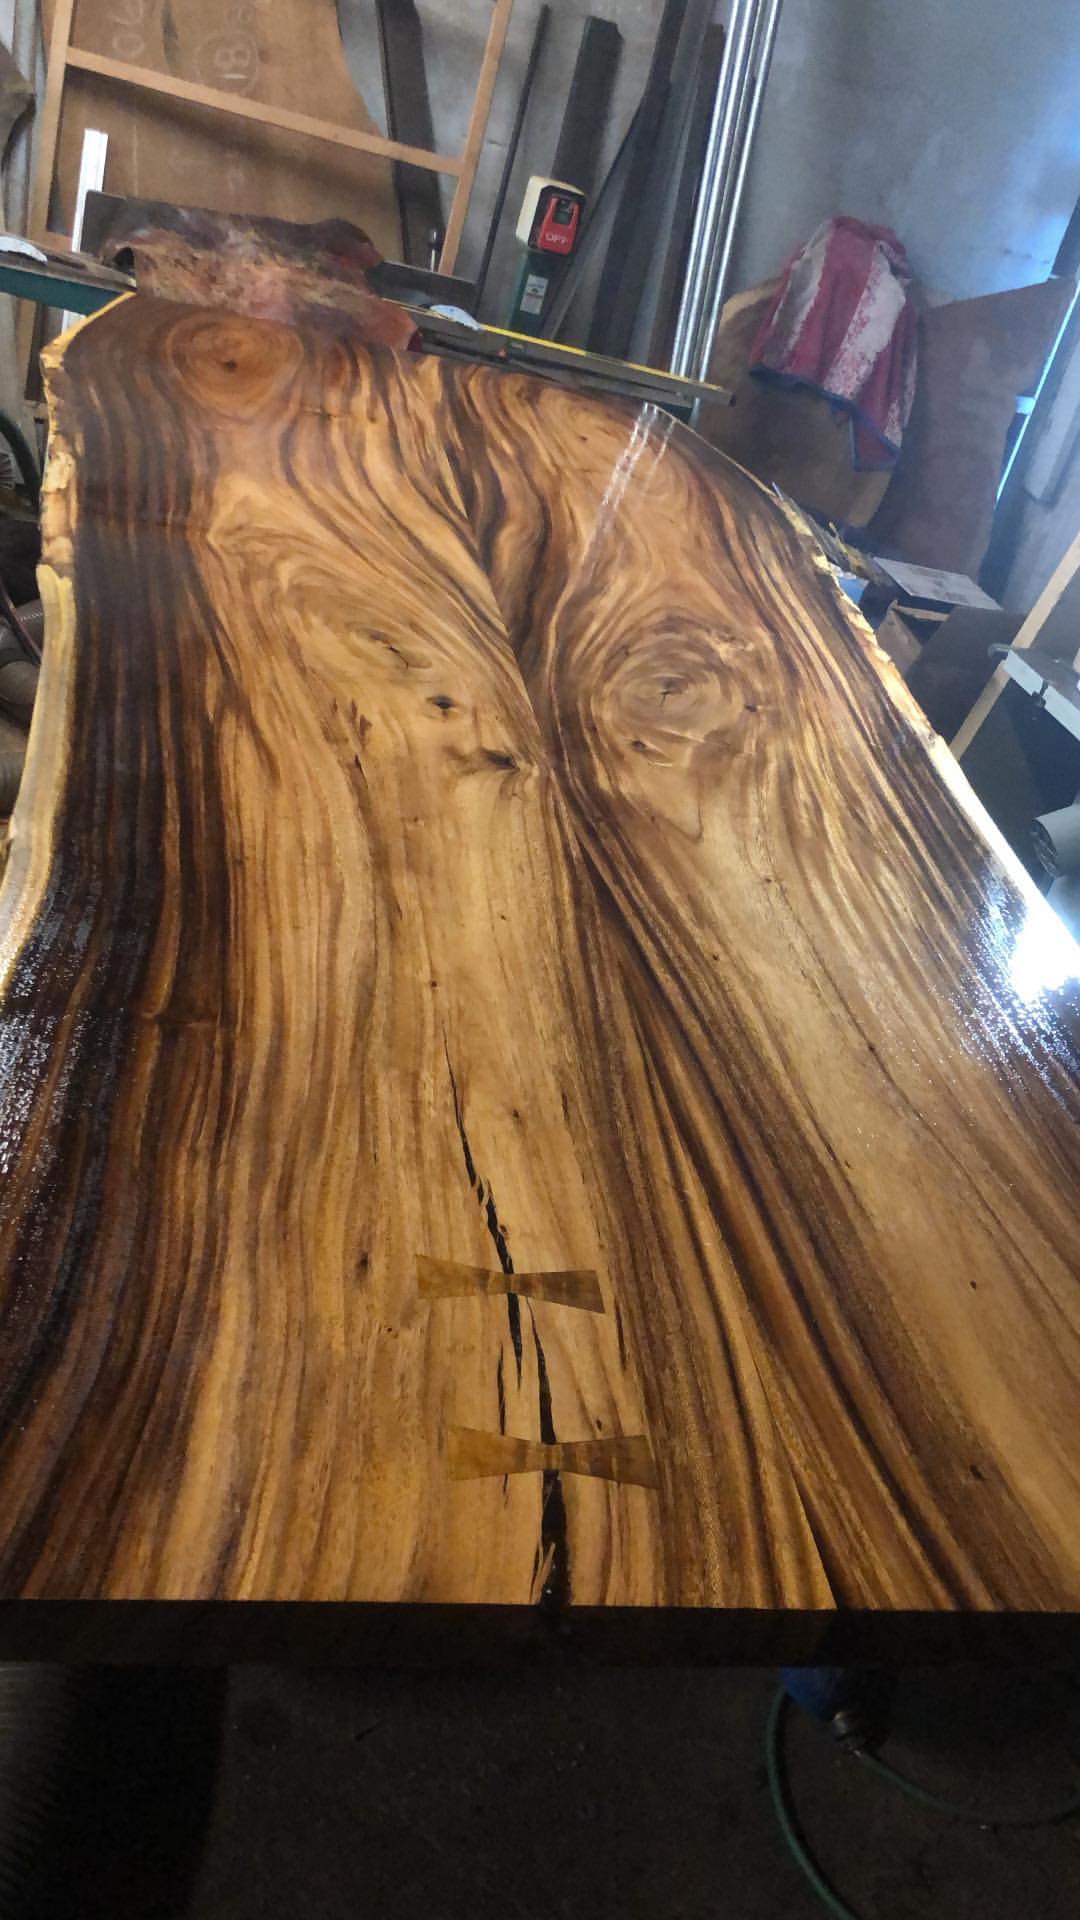
You’ll see in the above pictures that the crack is filled with epoxy, and koa bow ties are also added. Then, in the next picture, its finally getting finished!
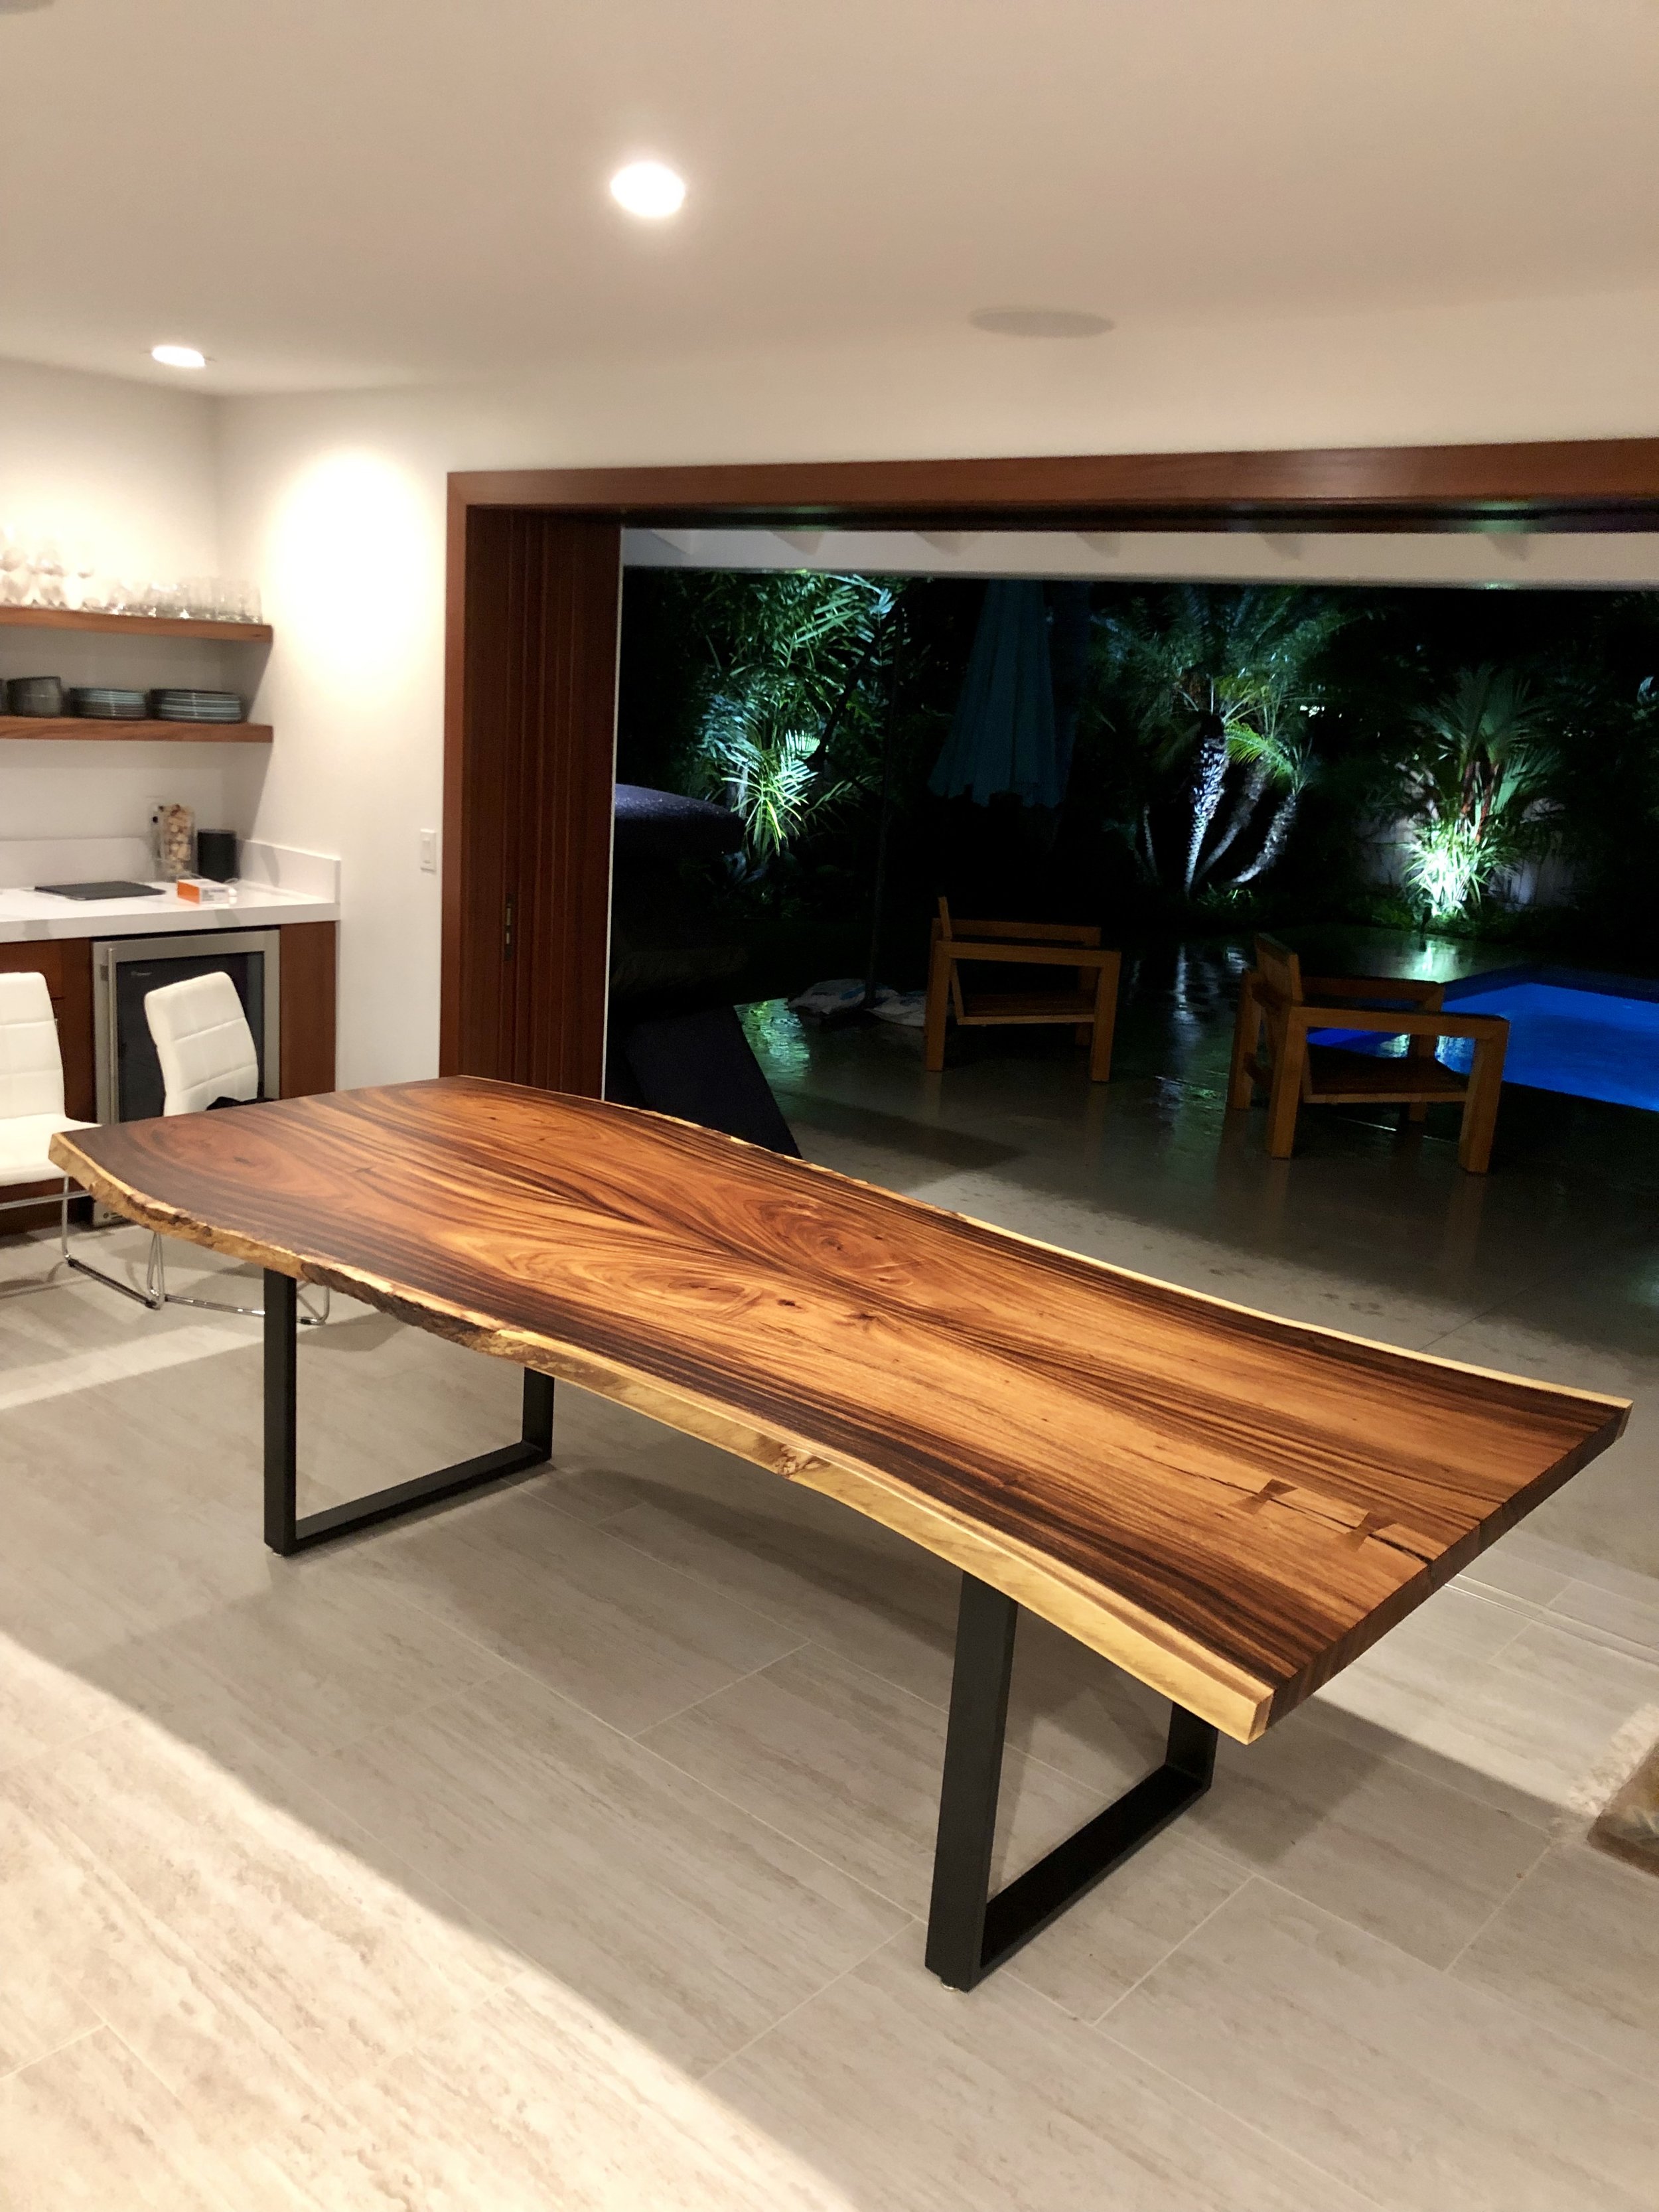
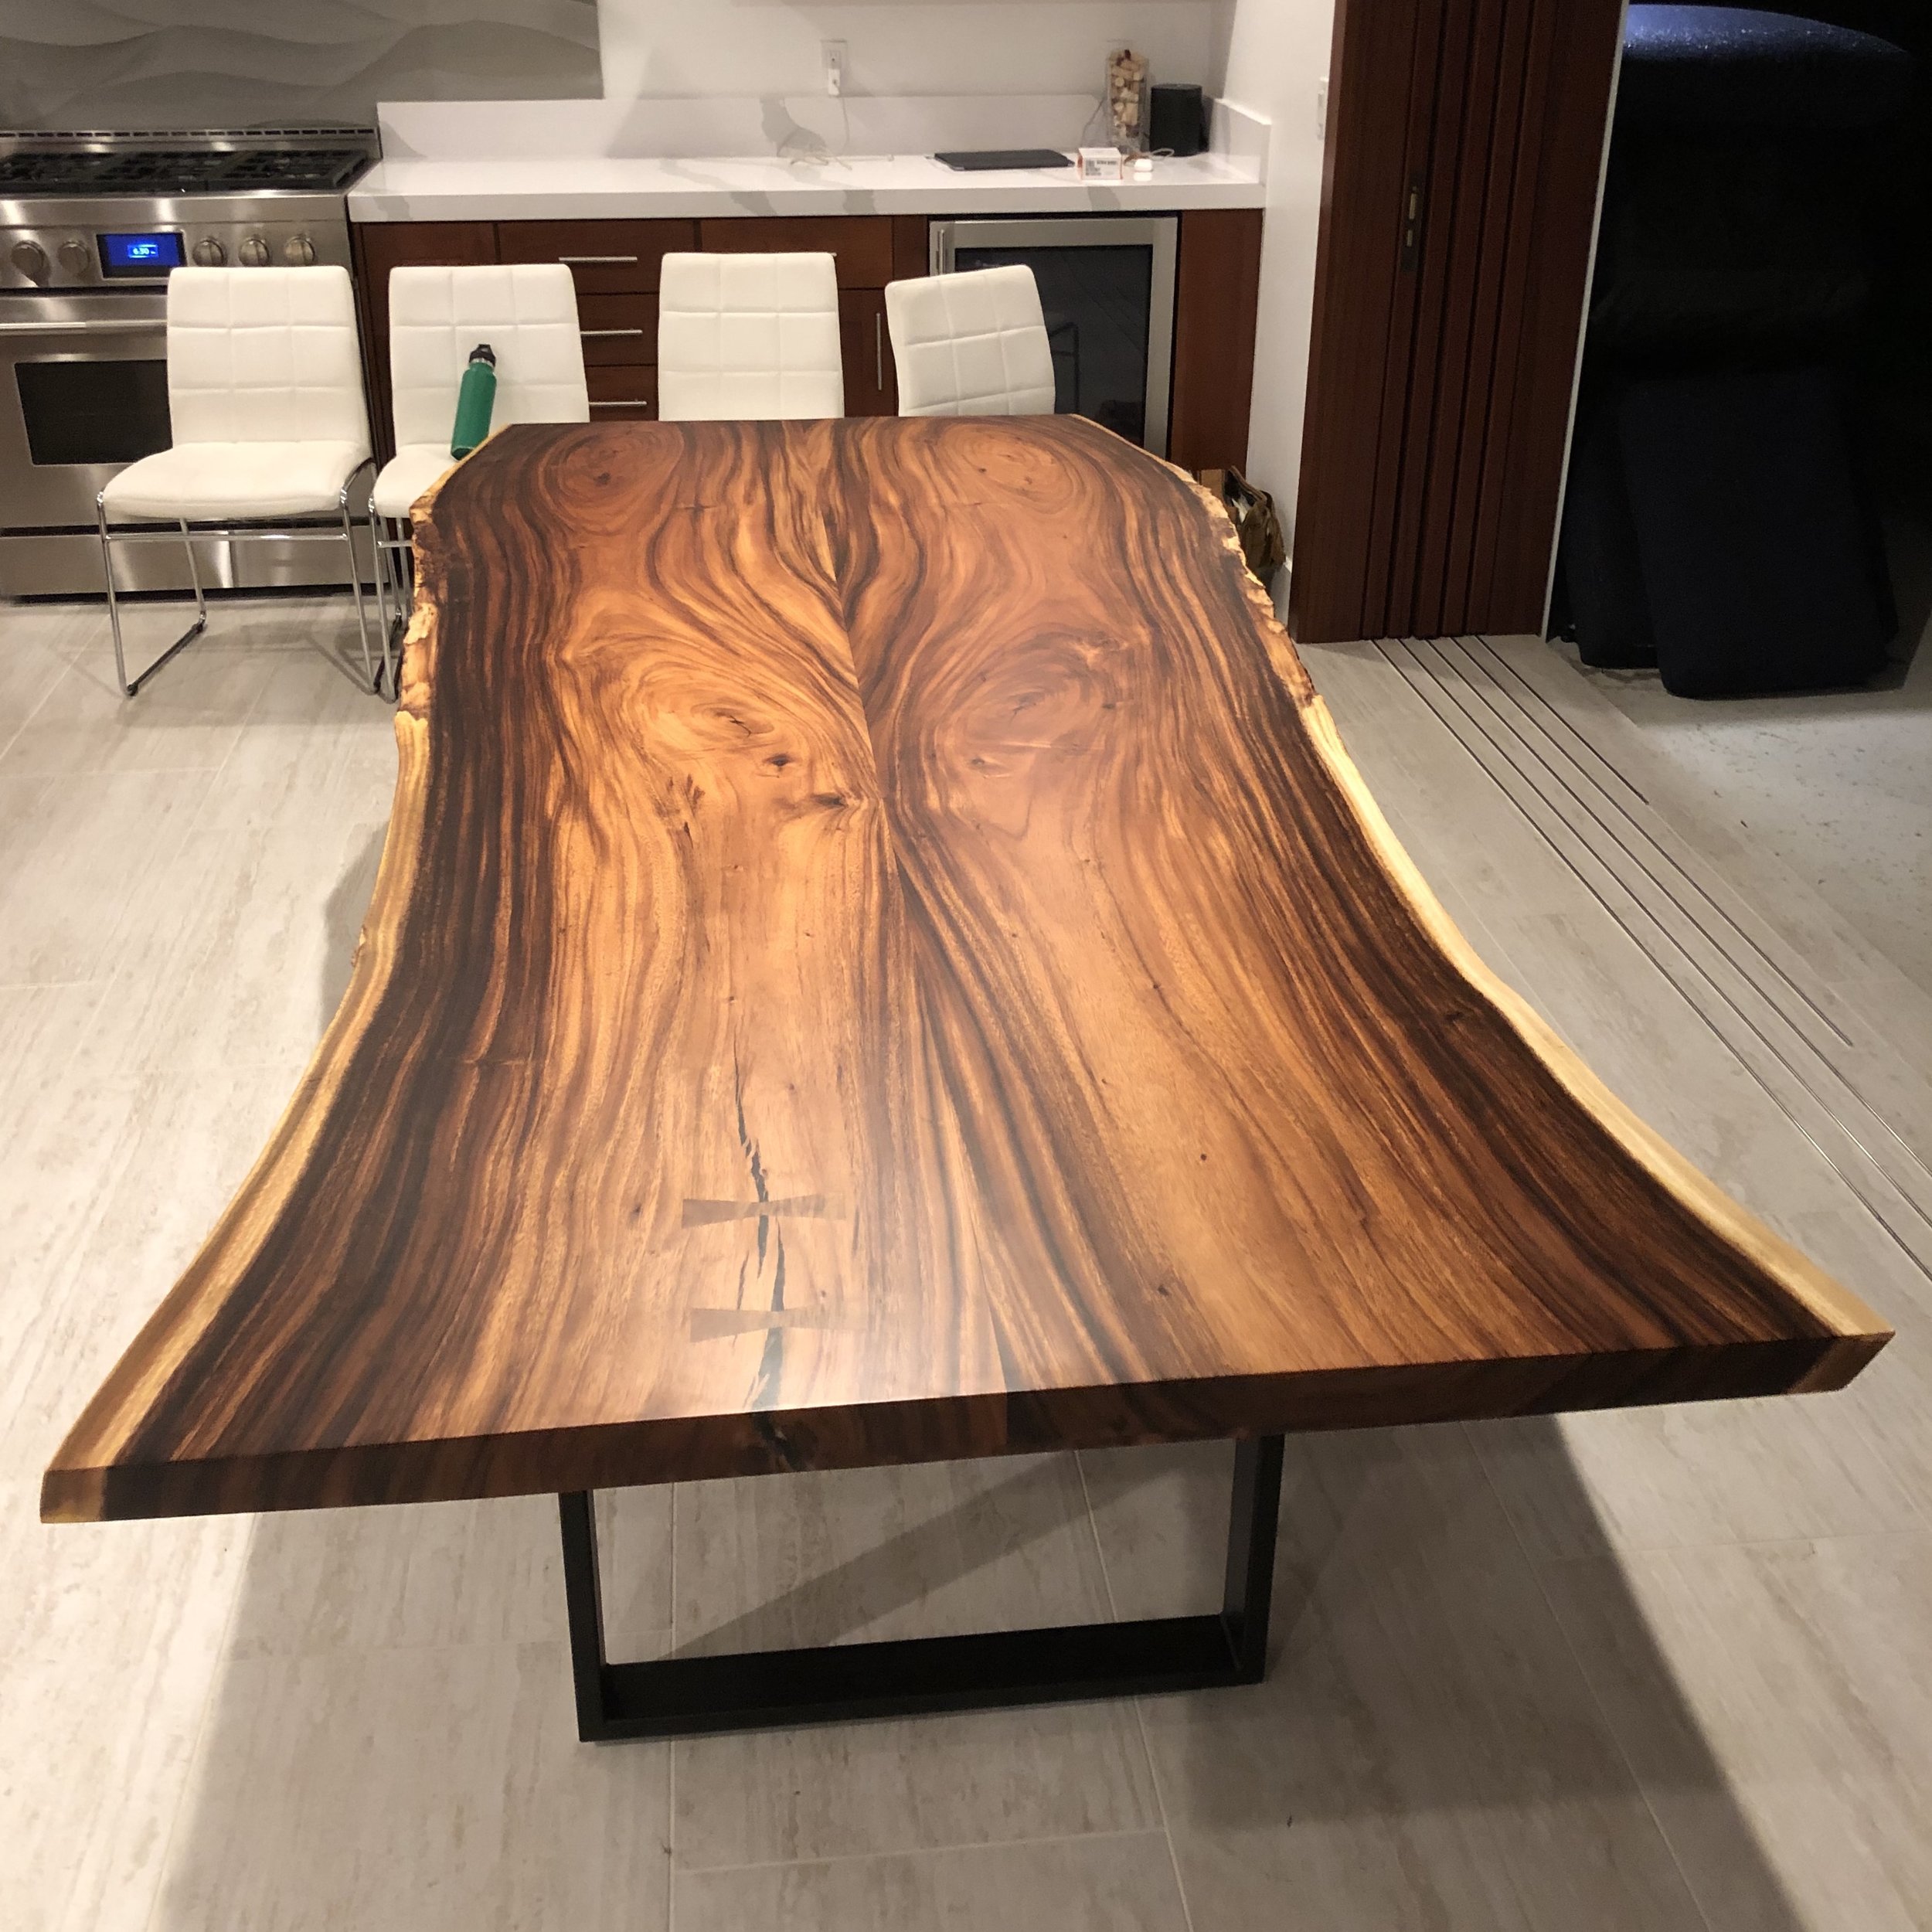
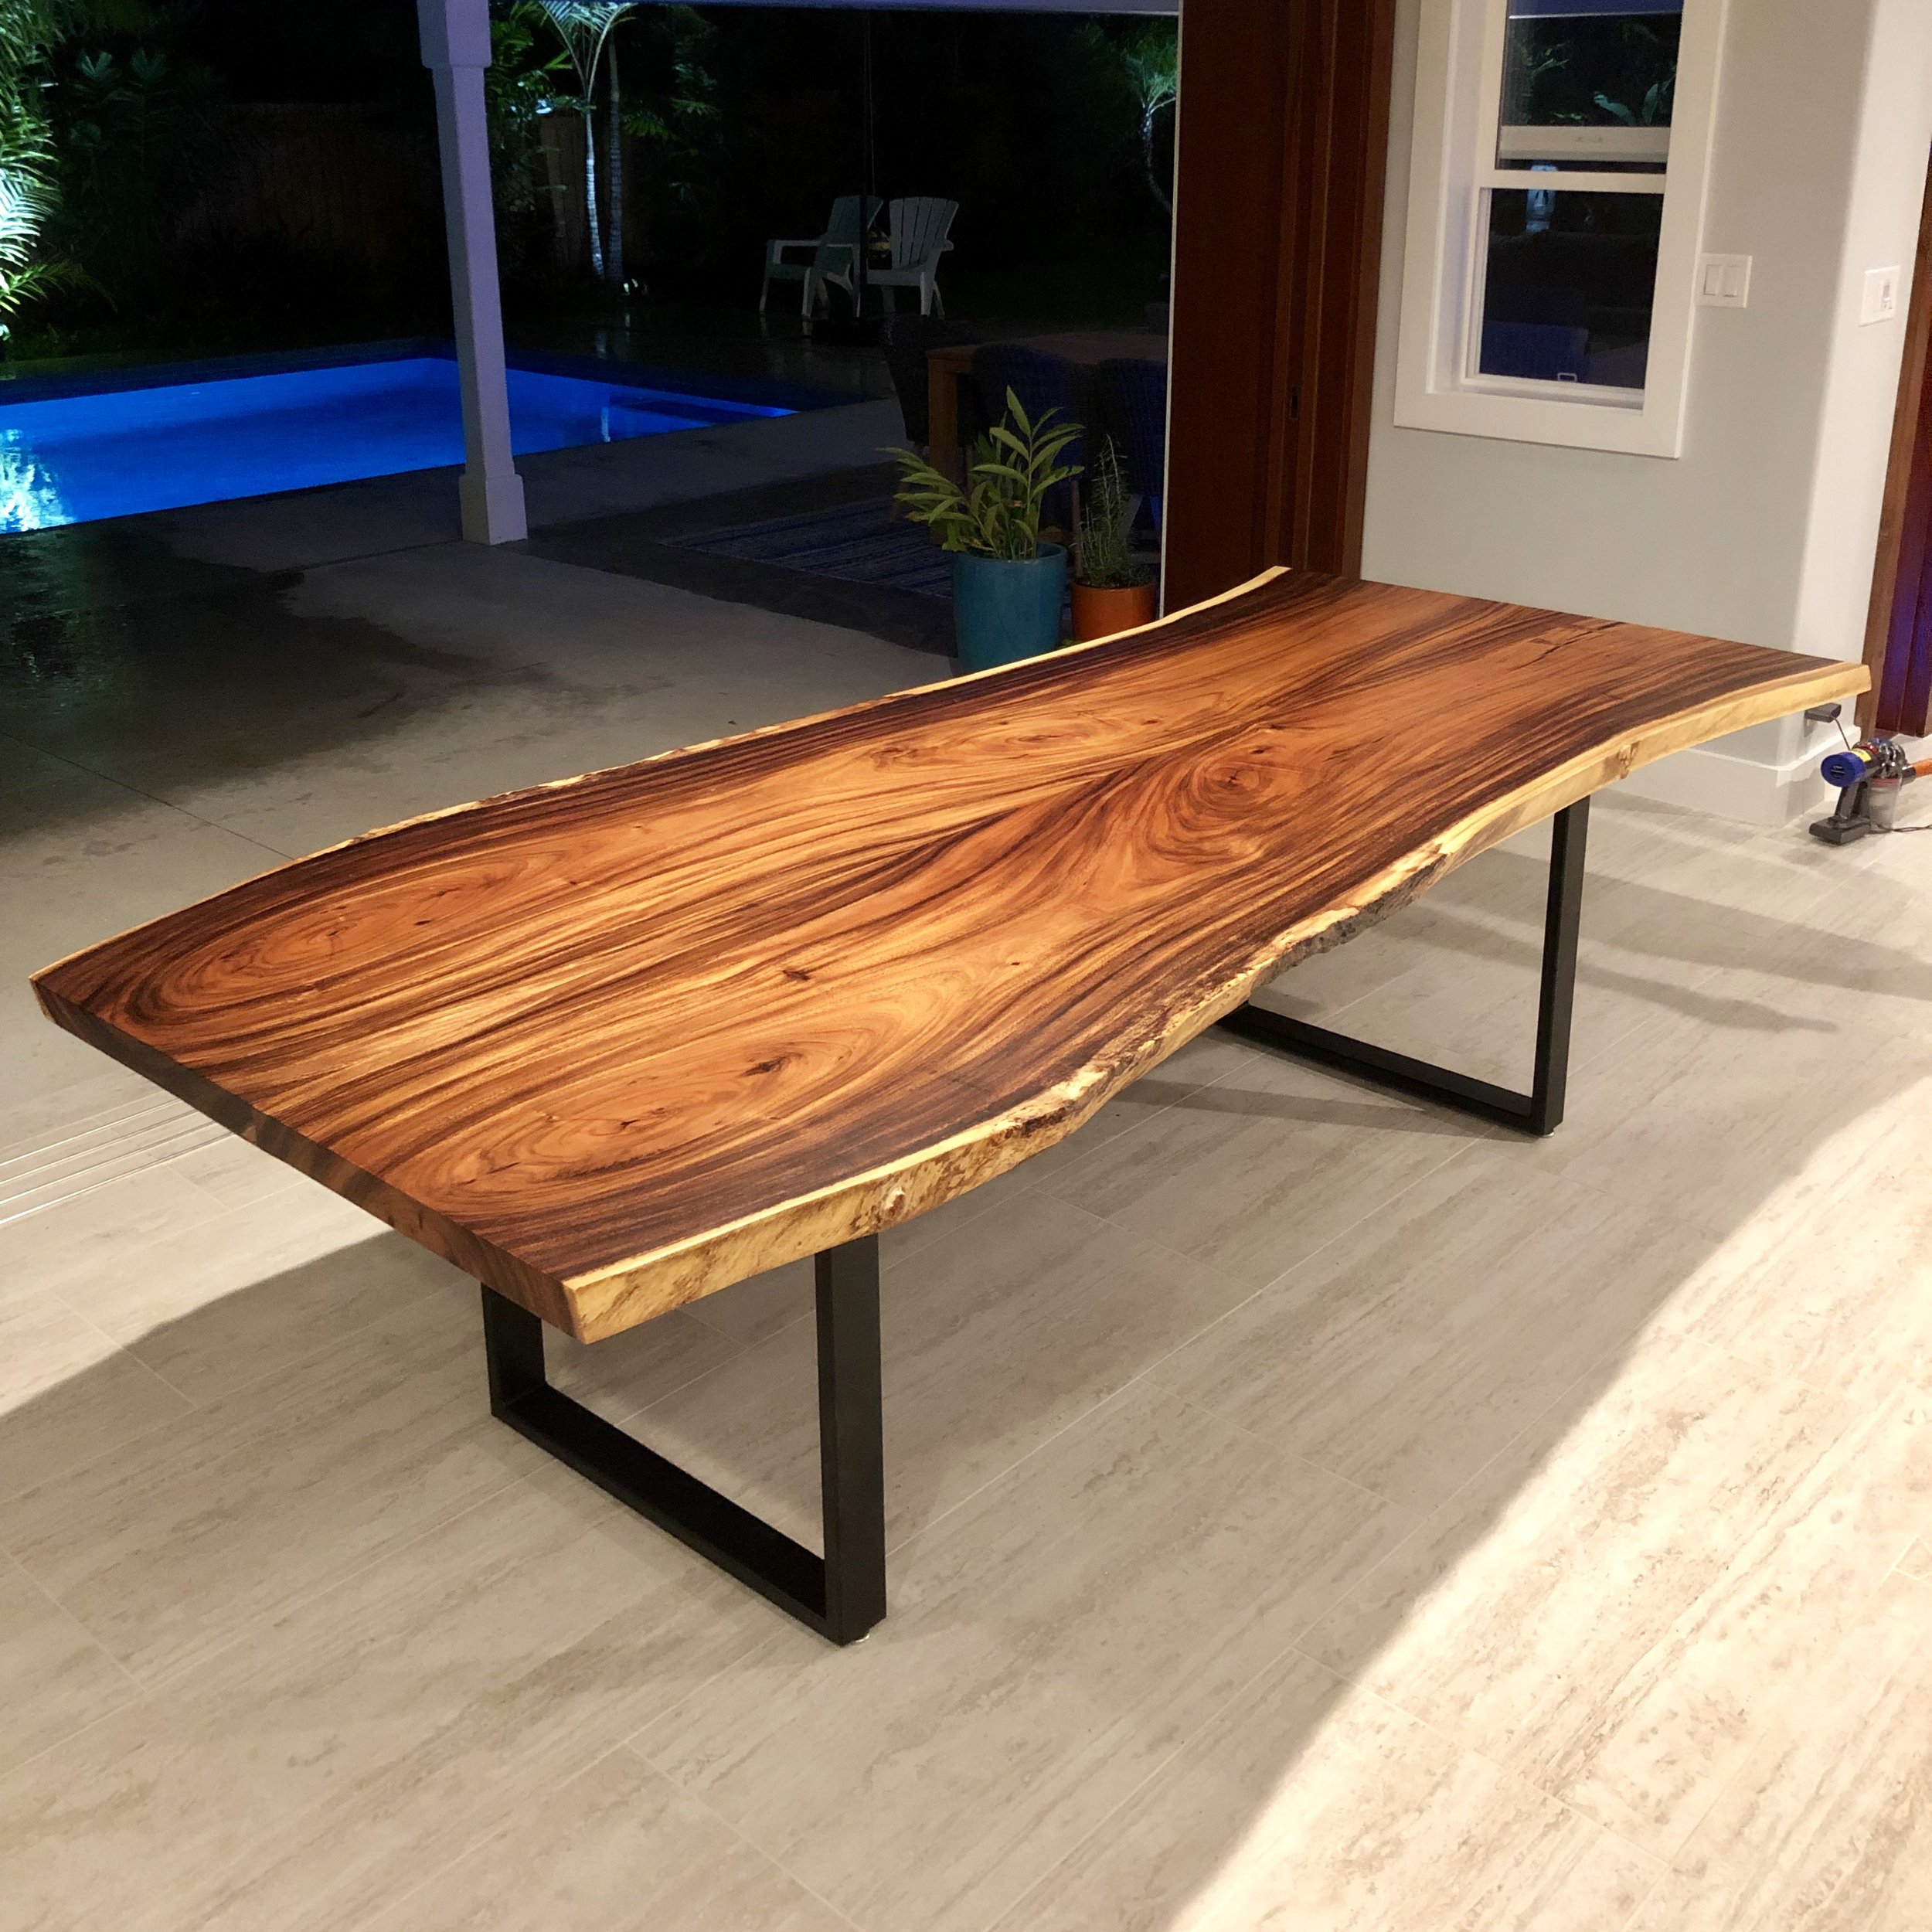
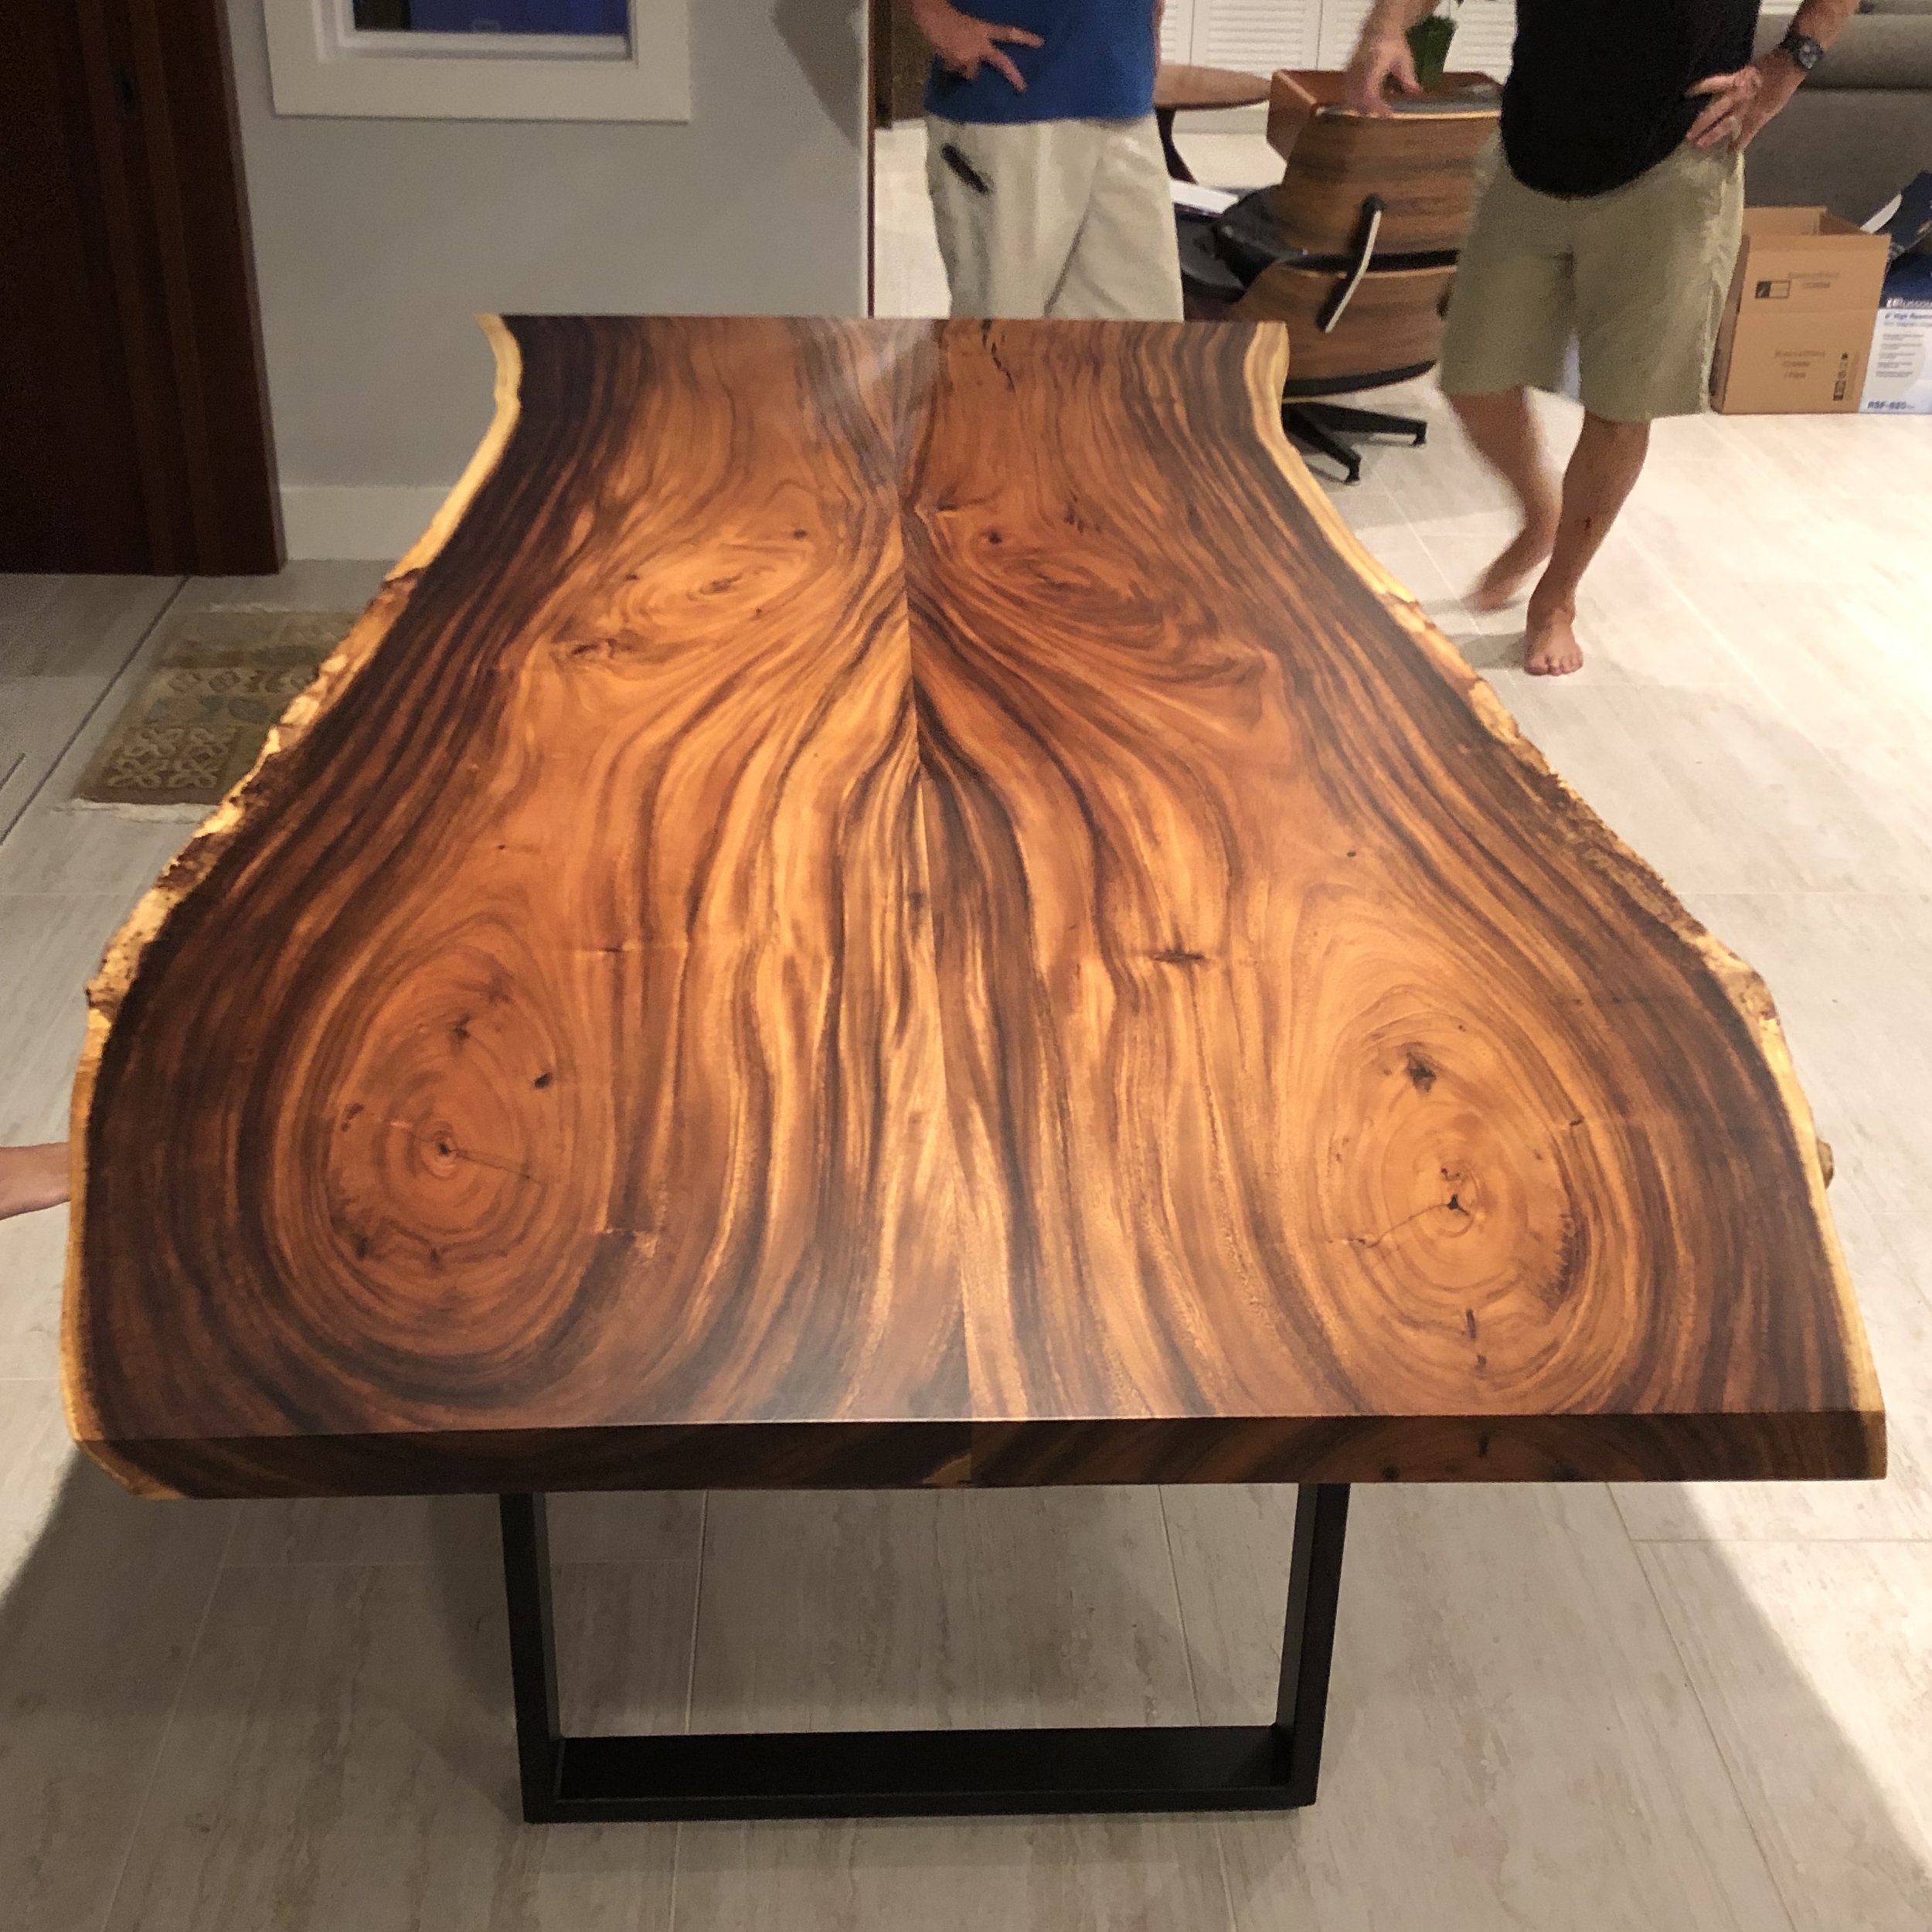
Its delivered! What you don’t see in these pictures is the mad rush it took to get this table ready to be delivered to a family in Kailua before Thanksgiving. We made it. Happy clients, happy furniture maker. Thanks for reading.